Make a Skateboard Deck Workshop
The Skateboard Deck workshop run by specialist technician Gregor Garber gives you the oppurtunity to create your very own custom graphic skateboard. For more information and how to book please contact Gregor Garber. Below you can see a step by step process for creating a skateboard deck.
Skateboard Deck Workshop process
To start you will have 7 layers of 1.5mm thick maple veneer. Your chosen design should be printed on one of the face layers

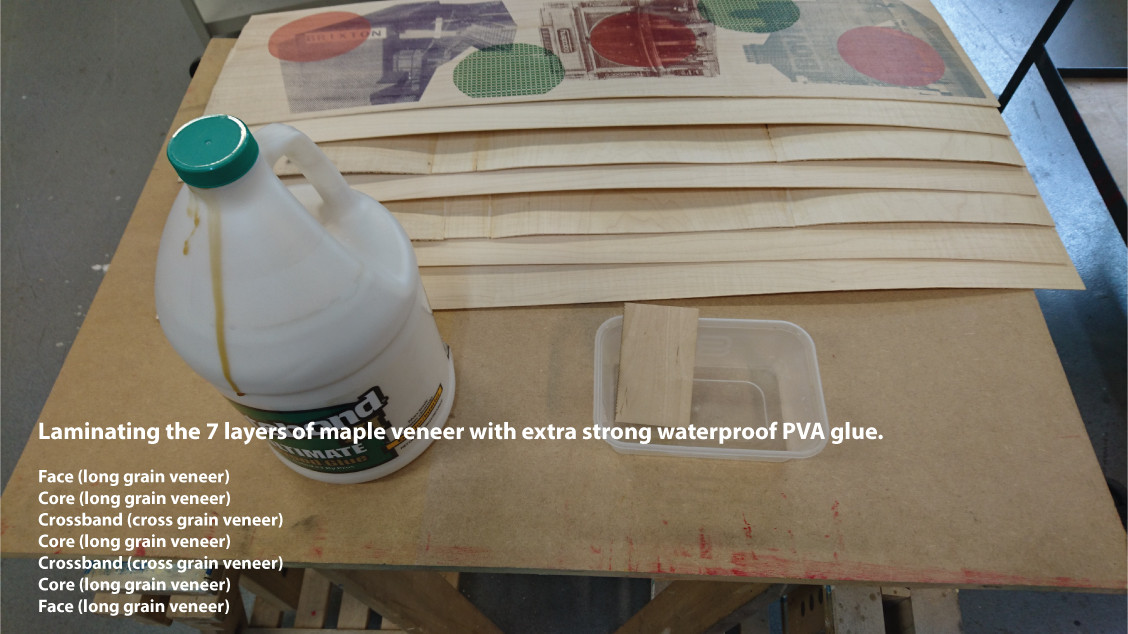
Using extra strong PVA glue the 7 layers are laminated in the following order:
- Face (long grain veneer)
- Core (long grain veneer)
- Crossband (cross grain veneer)
- Core (long grain veneer)
- Crossband (cross grain veneer)
- Core (long grain veneer)
- Face (long grain veneer)
Pour Glue on one side of the bottom layer and spread using a suitable spreader or roller


Once spread, layer the veneers on top of one another repeating the gluing process each time

Place all layers of veneer between two plastic sheets to protect the design and the bag press from glue stains

Carefully insert the pile into the bag press and centre over the mould


Place a piece of breather material betwen the deck and valve to avoid a vacuum trap around the valve

Seal the bag by neatly placing the plastic ends between the wooden sealing batons and hold in place using clamps

Insert the pipe and switch on the bag press

Once all air has been removed keep the pump running for a further 2 hours
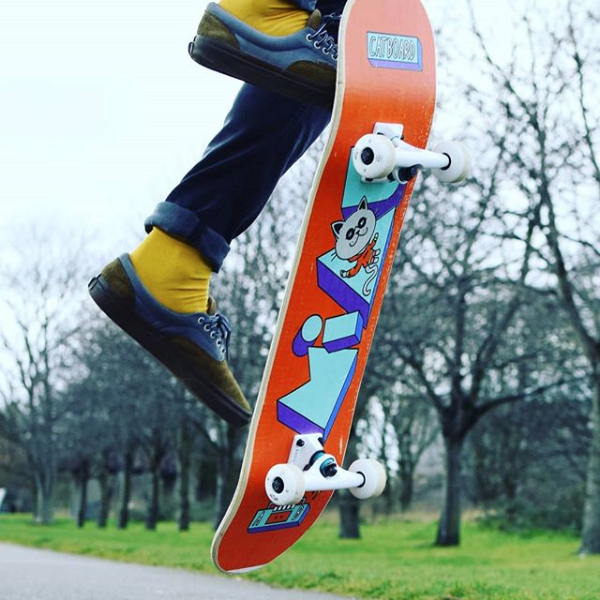
Once removed from the press you will be left with a deck ready for profiling and finishing

Next you will need to decide on a width for your skateboard by choosing one of the cutting templates

Mark out the shape of the template on the top side and using a bandsaw cut out the profile. Makre sure to keep the section you are cutting flat on the bandsaw table


Sand the edges round using the belt sander

Round the edges using the hand router, and when needed use the bobbin sander for places the router cannot reach


Finish by hand sanding the deck ready for varnishing

Using our truck template place on the bank of the deck and drill holes through. On the top side countersink these holes for the screws to sit in


Apply a first coat of varnish to the whole deck. Use the deck holder to apply a coat to the underside


Once the first coat is dry use 320-400 grit sandpaper and give the whole deck a quick sand

Apply a second coat of varnish

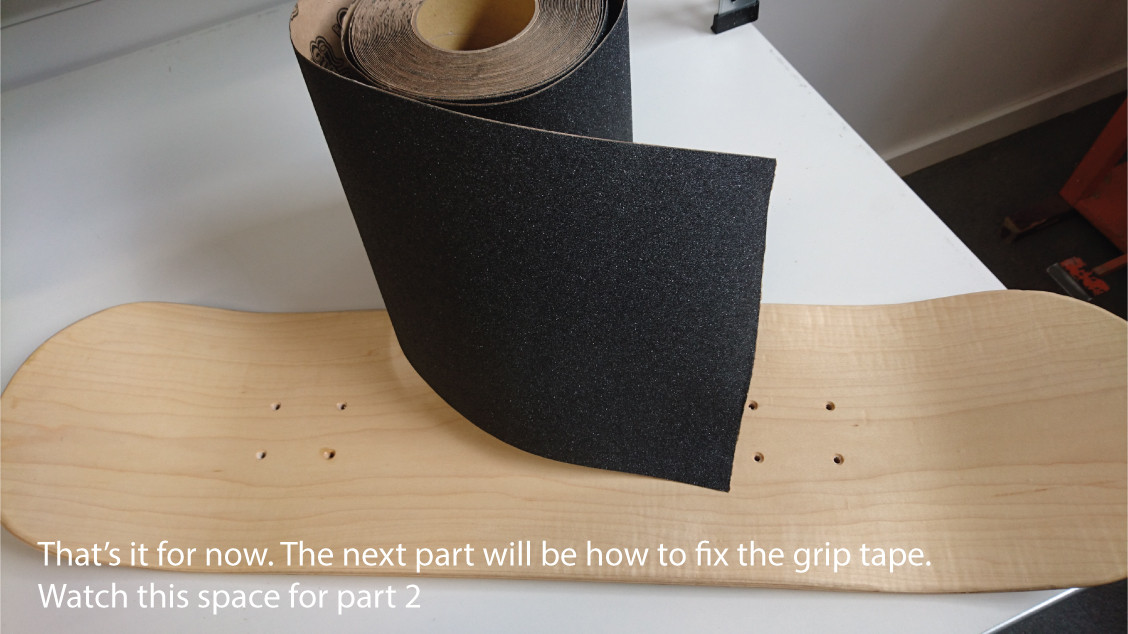
Thats it for now! Check back for updates on how to fix the grip tape and trucks